How To Flatten Prints
If you’ve ever dealt with rolled or curled paper, you know how frustrating it can be to try to sign, photograph, sleeve, or frame it. The fix is not difficult, but it does require a little space and patience. Read on to learn how to combat the curl.
First, it’s helpful to know that there are several inevitable reasons that prints can end up curled. Paper can adopt a slight curl when it is:
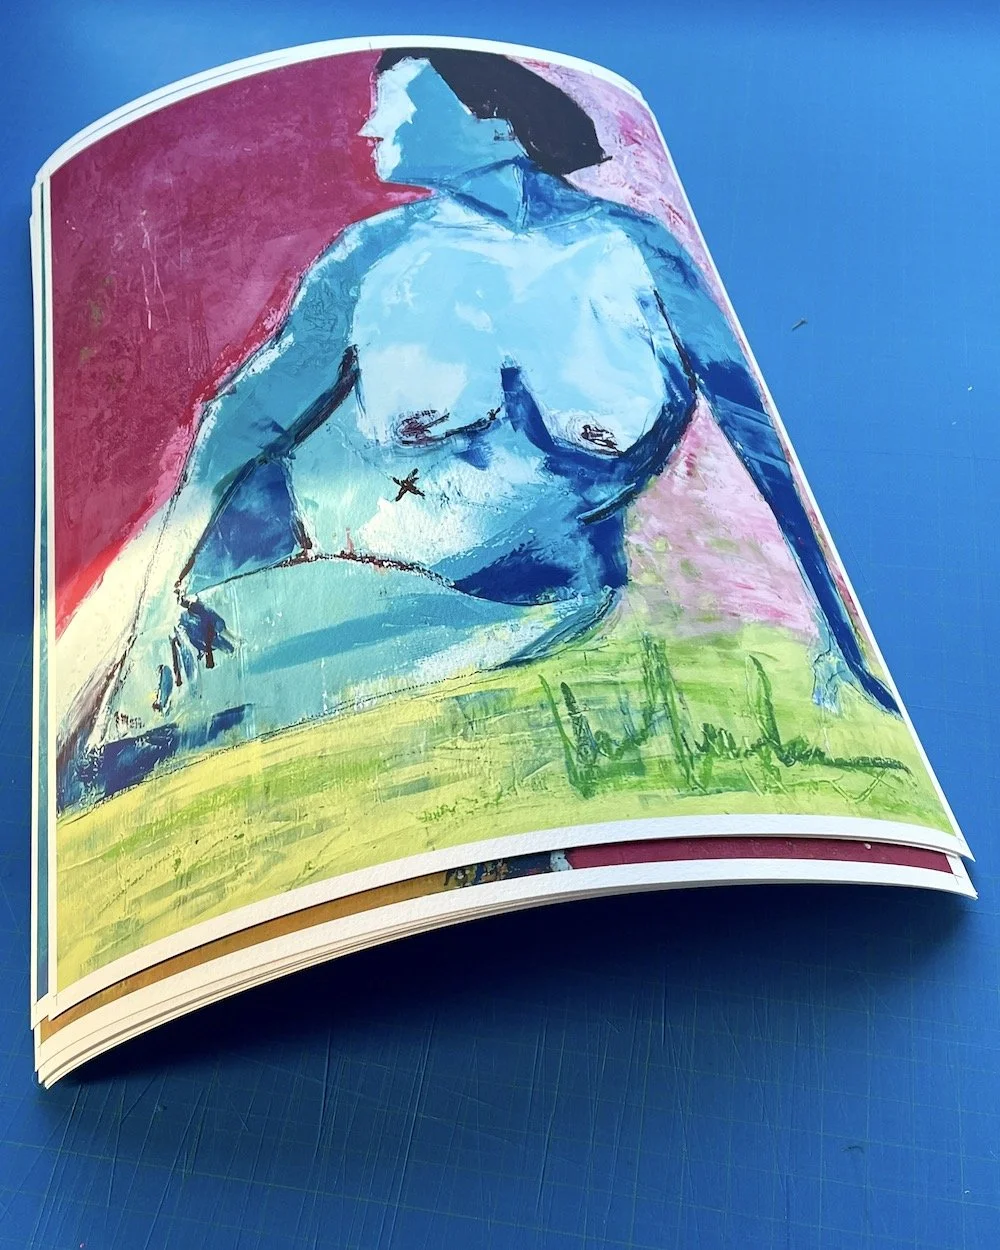
These prints on Somerset Velvet are fresh off the printer and still curled from the roll.
Shipped in a tube
Freshly printed from roll paper
Heavily saturated with ink
And certain papers tend to curl more than others. A heavyweight cotton rag, for instance, behaves differently than a smooth luster.
The easiest, safest, and most reliable way to flatten prints is with heavy weights over a little bit of time.
You will need:
A large, flat surface
Archival paper, such as the craft paper or glassine with which we ship each print
A rigid board, such as foam core, mat board, wood panel, etc.
Heavy books or similarly shaped flat weights
How to Flatten Prints
Remove the print(s) from the tube as soon as possible (if applicable).
Declutter and clean your flat surface with a wet rag and natural cleanser. The last thing you want is to immediately ruin your new prints with grease, graphite, or grime!
Place the print concave side down, so that the edges curl downward. You can stack several prints on top of one another if you have several to flatten, but keep the stacks low, otherwise it will take forever.
Cover the print(s) with clean craft paper or glassine.
Place a rigid board on top.
Add weight evenly across the surface of the board. This is when those old textbooks or heavy cookbooks come in handy.
Leave it 24–72 hours depending on paper thickness and tightness of the curl. Much like using a slow cooker, you’ll want to “set it and forget it”. If you check your print(s) every hour and move things around, you will sabotage the process.
For extra stubborn prints, you may want to start by gently, loosely rolling the print in the opposite direction of the curl, using a rigid tube to roll evenly and avoid creases. Then you can flatten them with weights as outlined above.
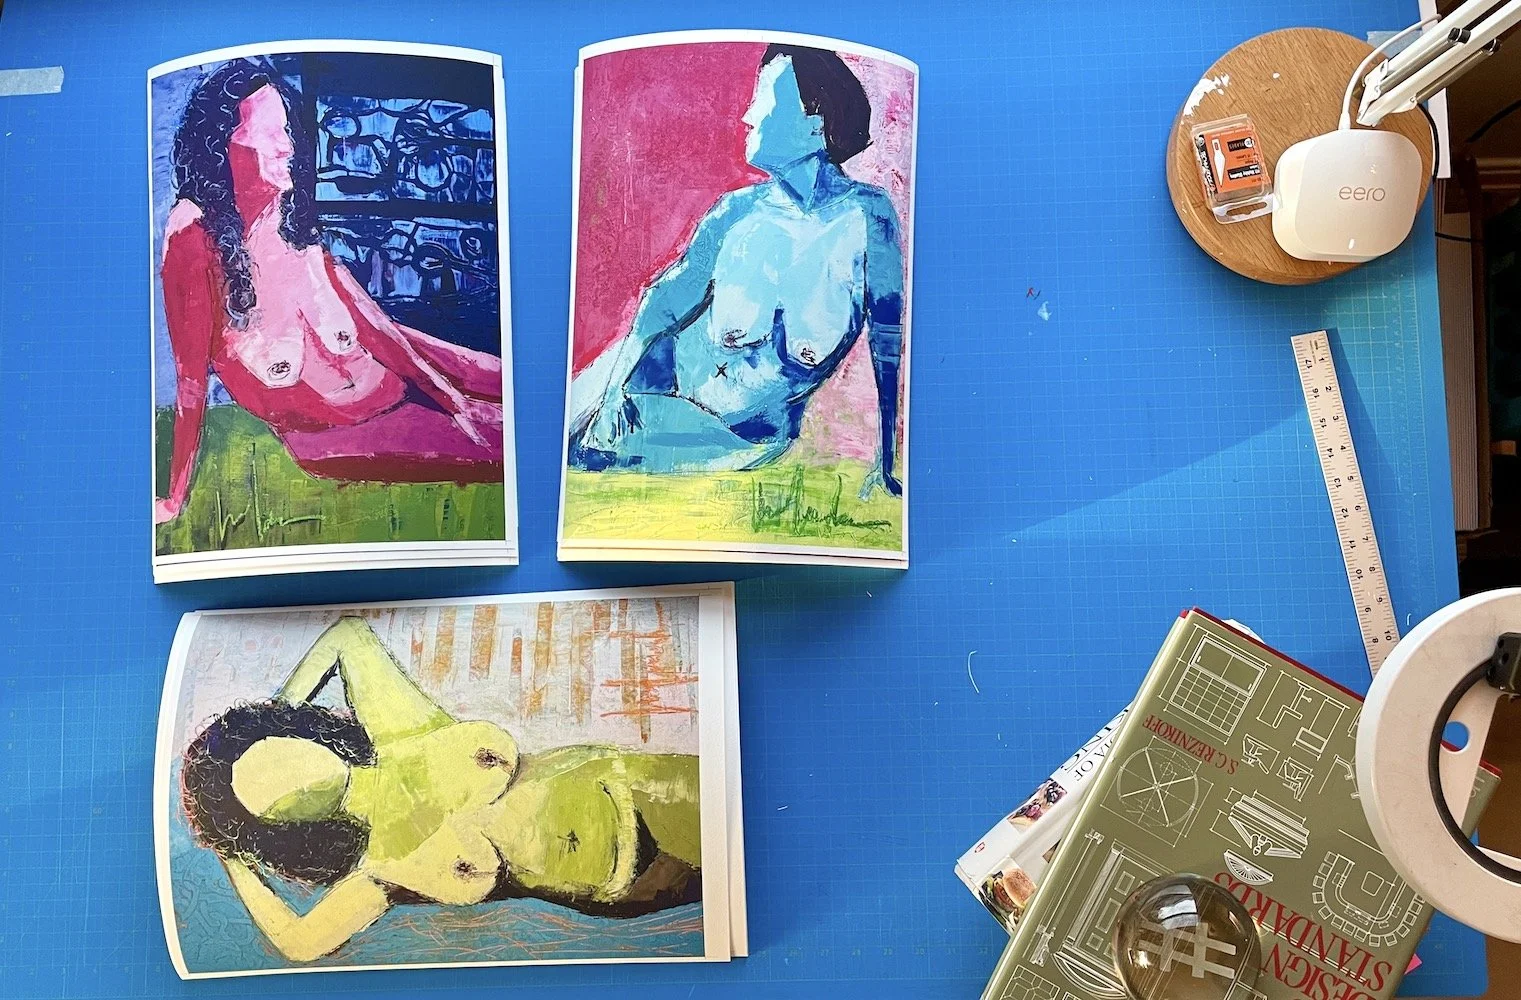
Start with smaller stacks so that your paper has a chance flattens more quickly and evenly. Jenifer Madsen’s prints on Somerset Velvet pictured.
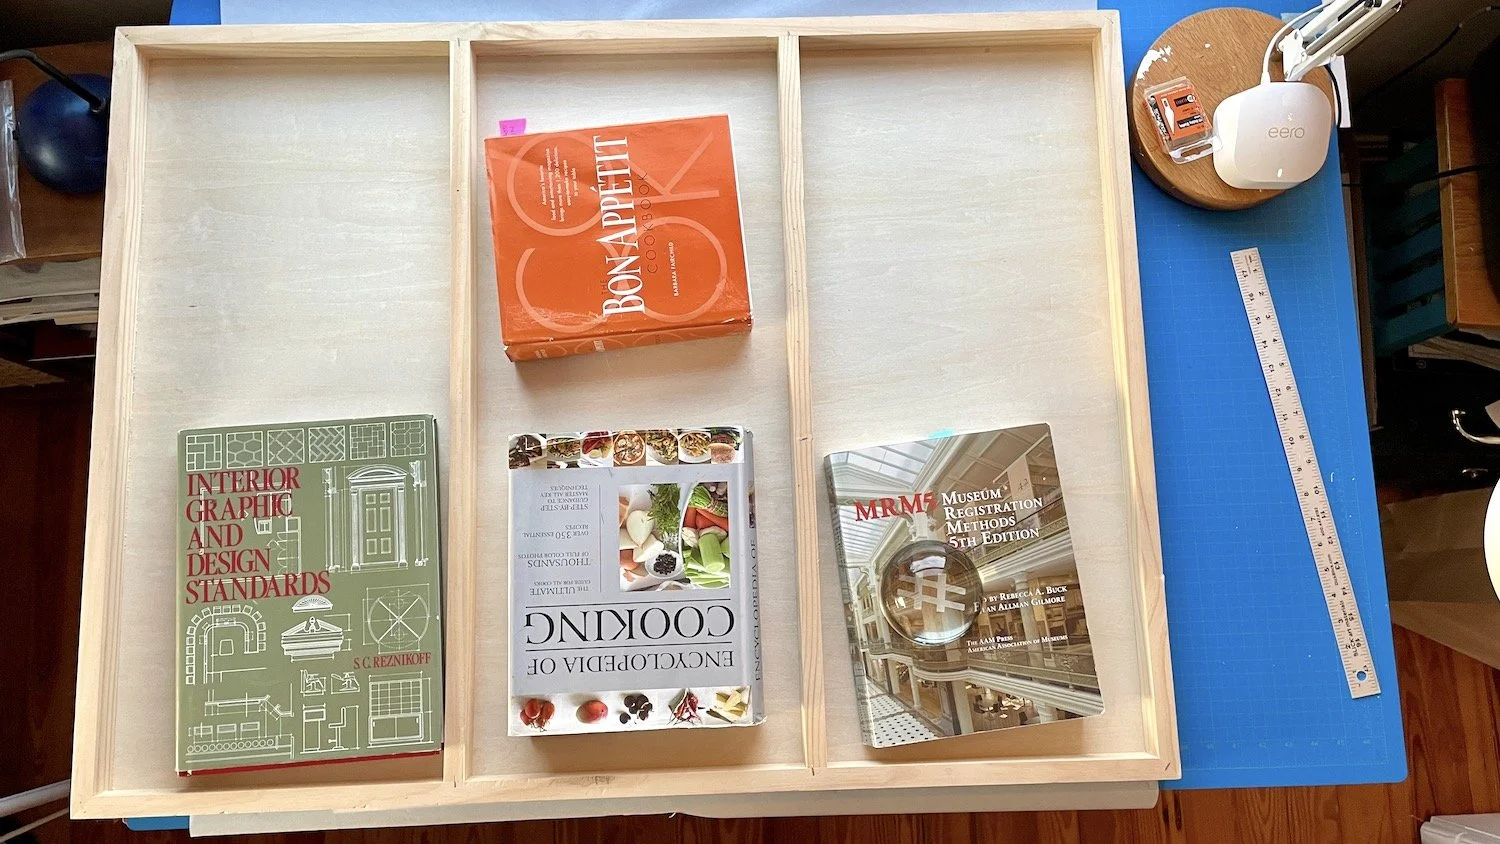
Cover prints with an acid free paper then lay a flat board on top to distribute weight evenly while you protect the prints. Here we used a wood panel (upside-down), heavy cookbooks, and old textbooks to flatten our stacks of prints.
What not to do when flattening prints
Don’t use clamps
Don’t try to iron prints
Don’t bend them back aggressively
Don’t stack uneven weights
Don’t flatten on dirty or textured surfaces
Don’t steam or use humidity unless you have experience with this method
Notes
Many of our Amazing Art Prints are printed on roll paper. We begin flattening them for you, but you may need to continue the process once you pick them up or receive them.
When you order prints larger than 12x12”, we ship them to you in a tube. This helps to not only protect the artwork, but to defray shipping costs, which are higher than ever. If you are shipping rolled prints to your collectors, feel free to pass along this article so that they can learn how to flatten your prints safely!
Local customers opting for pickup may request that their prints be kept flat. Please specify this at the time of your order.
Questions? Send us an email. Amazing Art Printing, we are a white glove printing service, here to help you every step of the way. Let us do the heavy lifting and your prints make the profits, so you can spend more time in the studio doing what you love.